How to make Custom Cardstock Coasters
This post contains affiliate links.
Recently I learned how to make custom cardstock coasters with the Cricut machine. Since I didn’t find many tutorials on how to make them, I decided to make a quick post to show you how.
We recently visited Hanzell Vineyards in Sonoma, California. The wine was terrific, and the place was extraordinary.
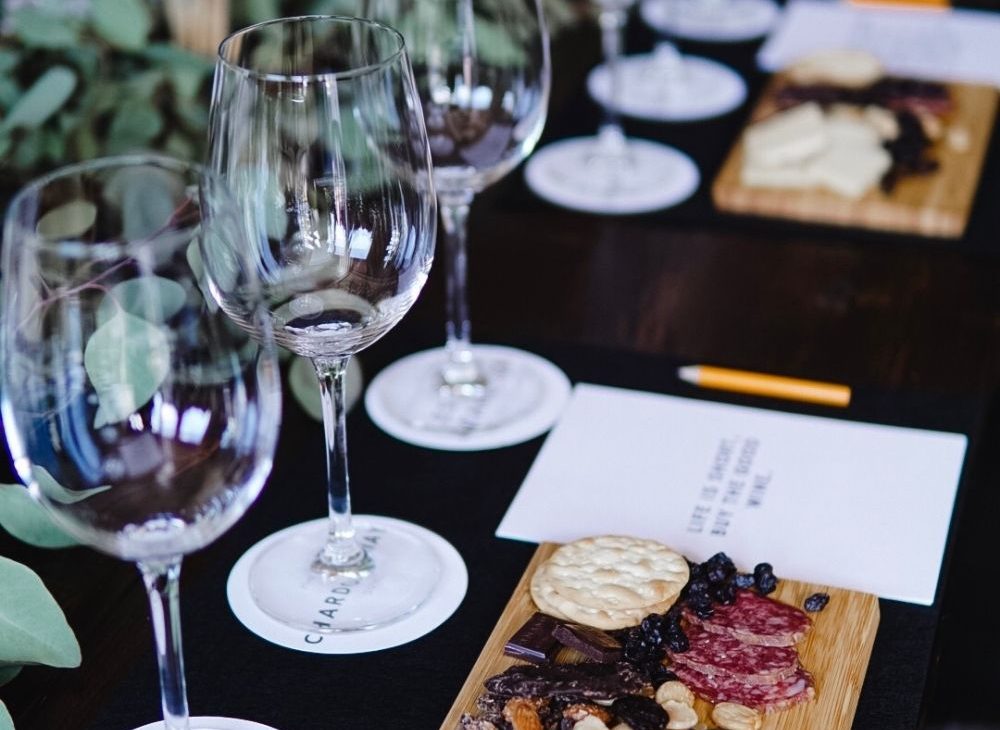
The room we sat at was perfectly styled. Instead of standing in front of a wine connoisseur to be lectured, we were sitting at a round table with three types of wines in front of each of us to enjoy. Here is where my first aha moment happened. It makes more sense to have all the wine you are tasting in front of you, so you can compare and go back and forth between glasses.
Another bright thing they do is that each wine has a coaster with the wine label on it. That way, you keep track of your favorite wine. I am not sure if other wineries do this, wine tasting can blur my memory. But this place is unique, and I took a case of wine home, and the decor inspiration to style a wine tasting party.

Design Coasters
You first have to save your text or image in .png or .jpg format. I use Canva.com to make my images.- Go to Canva.com.
- Click on create a design.
- Pick the logo option.
- Add your text or upload your image.
- Once, you are happy with your design, download the file as .png or .jpg.
- Go to Cricut.com.
- Choose the new project option.
- Pick a shape for your coaster and make it 4in. X 4in.
- Also, change the fill color to white.
- Next, upload the image you created using Canva.
- Once the image loads, a few options will come up. Choose the “complex” option. This step separates the image from the white background.
- Select and erase the areas outside of your image. If you are using text, also click and delete the white inside the letters.
- Continue and save the first image on the left of the screen.
- Click on your image again and then click on the insert button.
- Now, resize your image and arrange it in the center of your coster shape.
- Select both images and click on the Flatten option.
- Duplicate the design. Now you can Make it!
- The designs will have a frame around it; this frame guides the Cricut to make the cuts.
- Place cardstock on your printer and then, print as many copies as you need. Unfortunately, you can only print two coasters at a time. It is a bit time consuming, but worth it.
Cut Coasters
- Set the Cricut dial to Cardstock.
- Place each cardstock on a Cricut cutting mat and begin to print.
- The Cricut will read the black frame and cut to your desired coaster shape.
- Pull the cutting mat away from the coaster and be careful to not bend the coaster as you pull it off the grip mat.