DIY Gift Card Holders for Teacher Appreciation Week
This post contains affiliate links.
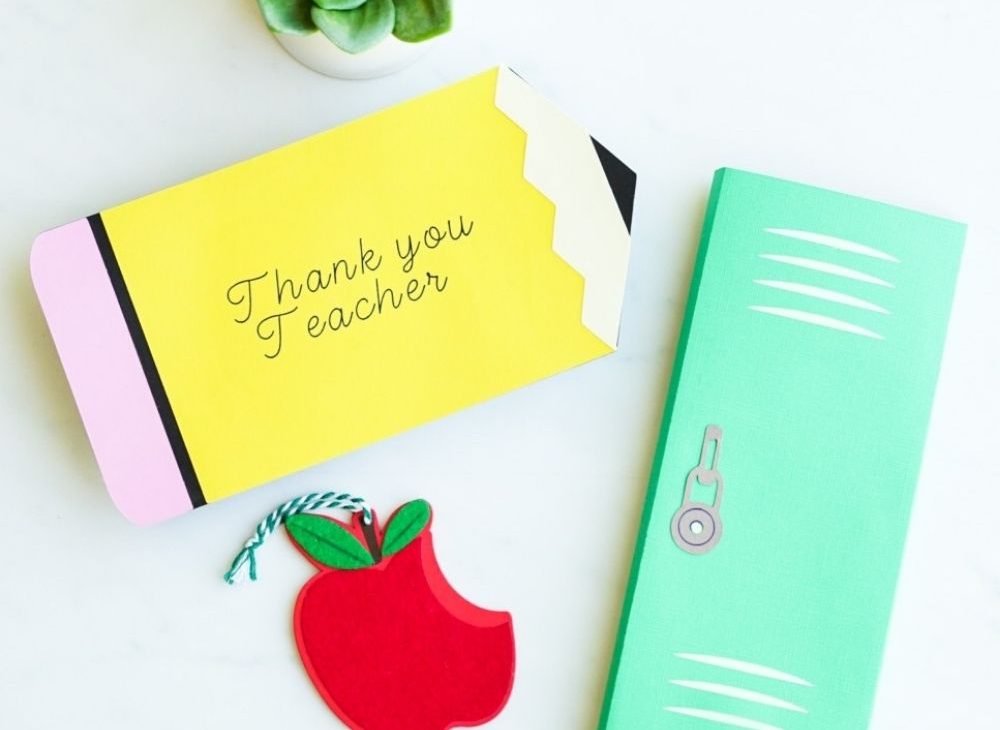
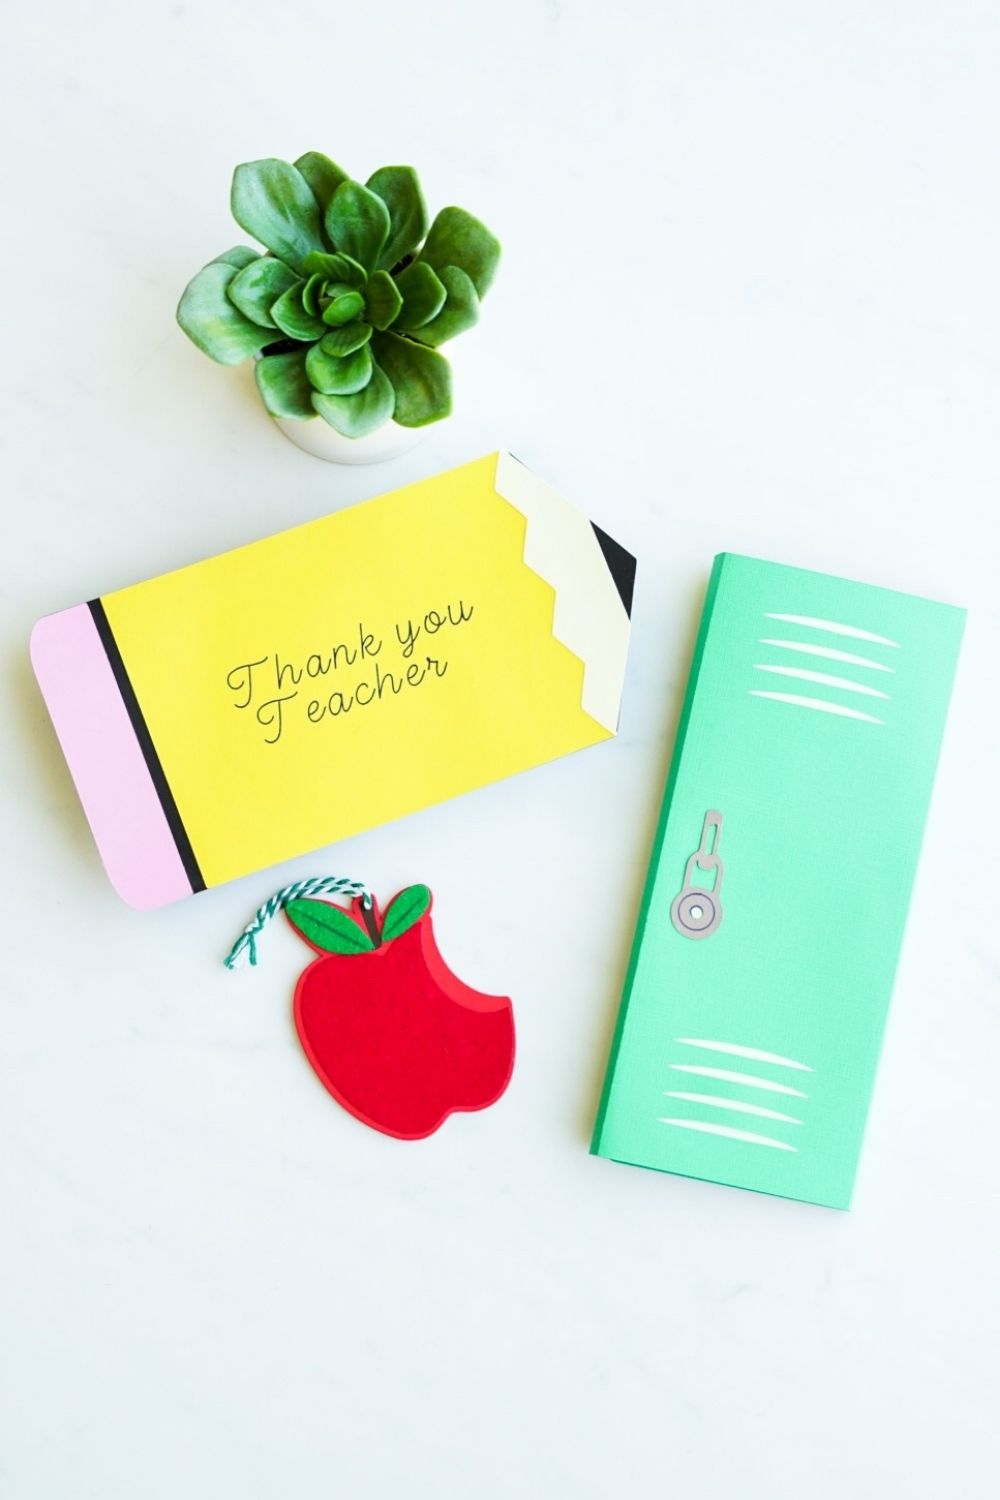
It’s teacher appreciation week! Time to pamper our amazing teachers for being awesome and patient with our little ones. Below you will find the Cricut links to cut these cute gift card holders, so you can give them to your favorite teachers.
We have so many teachers to thank this year. We began the school year on distanced learning. For the first time I was able to sit during my kids’ classes and see how the teachers worked and managed to keep 15 kids calm and engaged during an online class. I am so grateful to all those teachers, because with out their guidance, I am not sure how much our kids would have learned this year.
Another amazing teacher that helped us this year was my amazing mother-in-law. She is a retired school teacher and came to our home everyday to help us. Here I had another chance to see a teacher in action. Our in-home school involved songs, hugs, and many many books.
Now, the kids are back in school. They immediately bonded with the new teachers and their love for school is back!
I am not sure how we will remember this crazy school year, but I do want to thank all the teacher for beign there for our kids in these crazy times.
Click on the Cricut Pencil Template link. Open the Cricut Design Space.
Select, “Make It”. Then, load up the StandardGrip mat with cardstock and begin cutting. You will need to load machine with the blades and the Pen.
Once the cuts are finished. Begin by gluing the pink paper that look like an eraser to the black cut-out
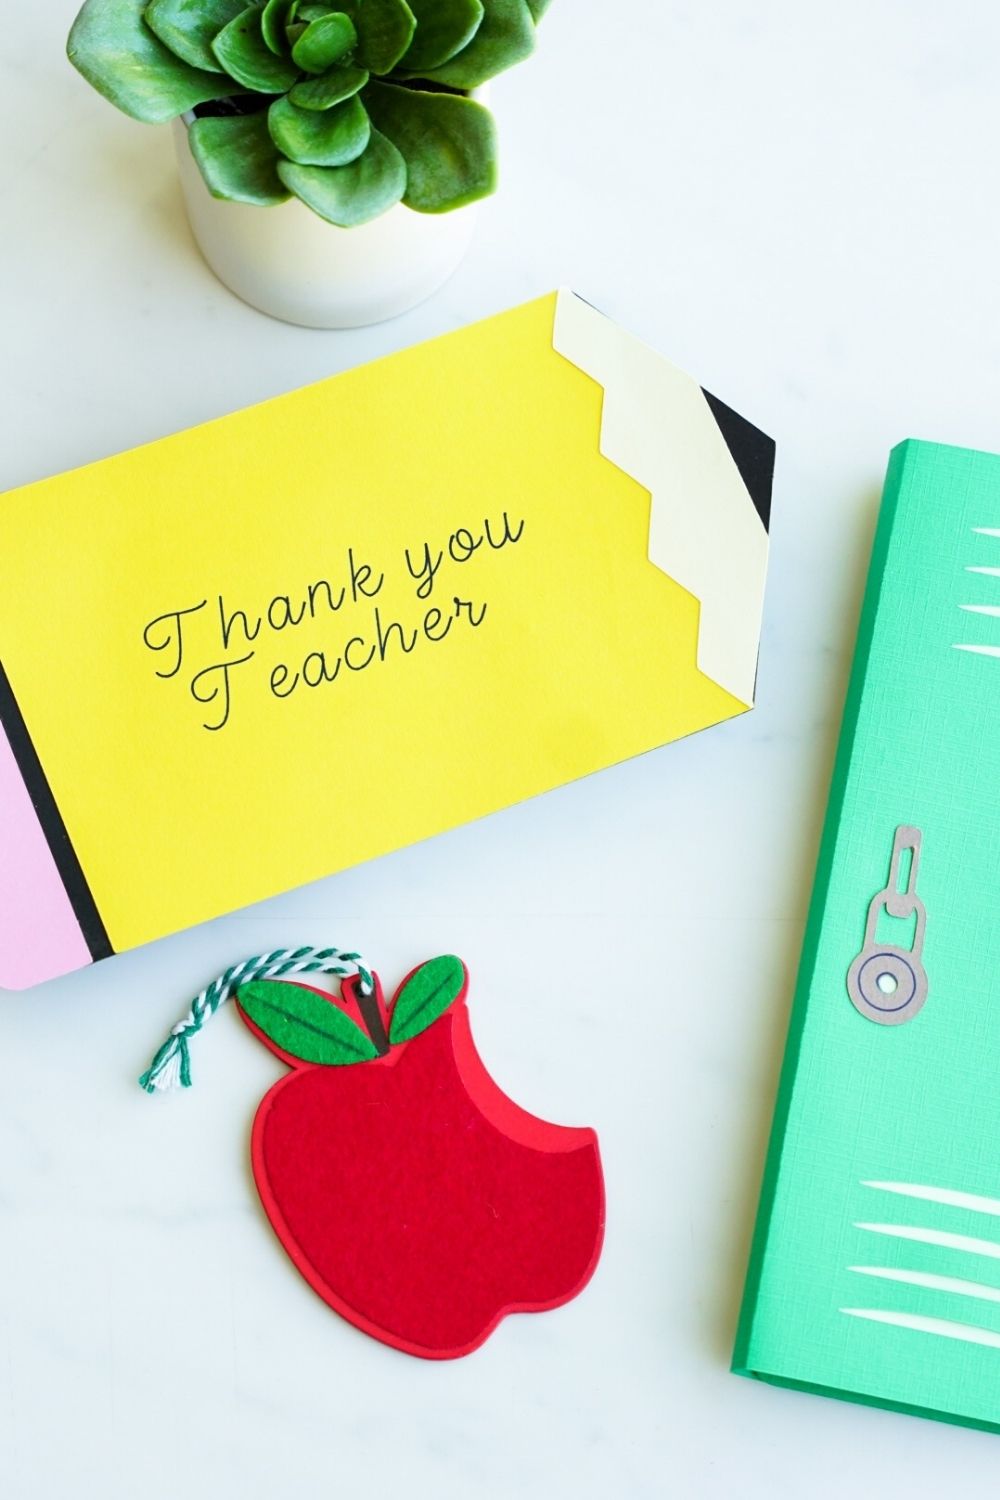
Then, work your way up. Leave a small gap of black and then, glue the yellow piece. Lastly, glue the zig zag piece. Your pencil is done.
Now, flip the pencil.
Assemble the gift card holder and then glue it to the back of the pencil. Be sure to be generous with the glue in this step. You want the pocket to be strong to hold the gift card.
Finally, Insert your favorite gift card and give it to the teacher!
Assemble Locker
Click on the Cricut Locker Template link. Open the Cricut Design Space.
Select, “Make It”. Then, load up the StandardGrip mat with cardstock and begin cutting. You will need to load machine with the blades and the Pen.
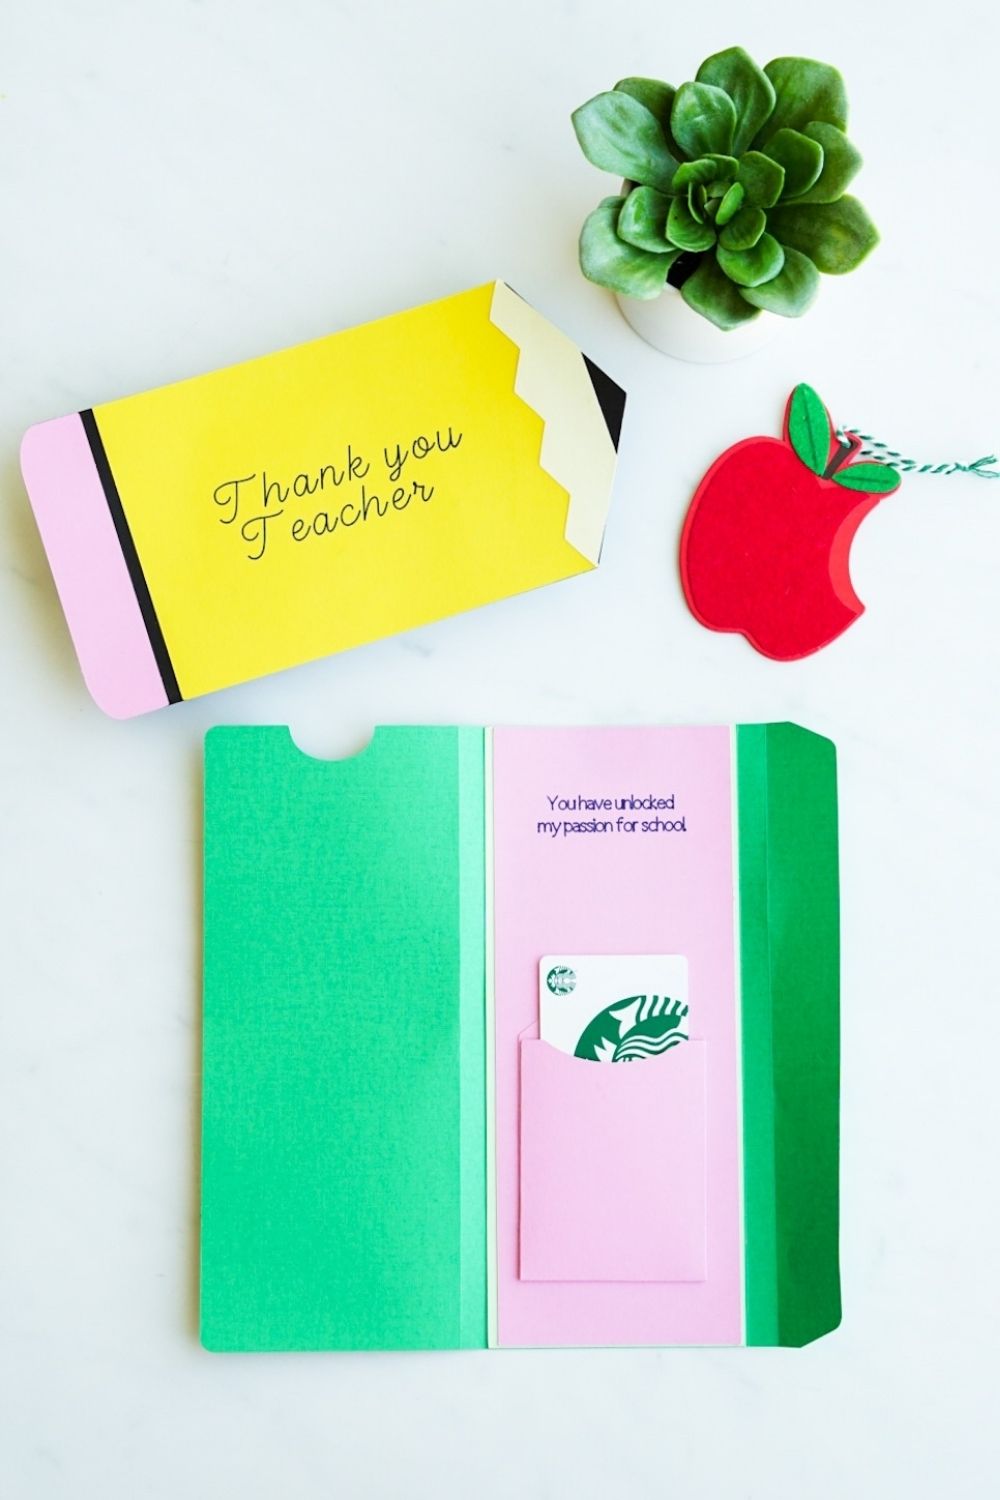
Once the cuts are finished. First, glue the lock to the locker. Then make the folds. Next, glue the light green paper to the back of the locker and on top of that glue the pink sheet that has the quote.
Assemble the gift card holder and then glue it to the inside of the locker. Be sure to be generous with the glue in this step. You want the pocket to be strong to hold the gift card.
Finally, Insert your favorite gift card and give it to the teacher!
That is all. I hope you find these gift card holders helpful. If you want more fun ideas check out the DIY page or search for school related posts.