DIY tree ornaments with modeling clay

Making tree ornaments with modeling clay is an enjoyable activity to do with kids during the holidays. Follow this easy tutorial, and you will end up with beautiful decorations and wonderful memories.
This year I decorated our outdoor playhouse with snow fluff, large bulb lights, and Green garlands. My kids loved all the decorations, but my son quickly pointed out that I had forgotten to decorate the inside of the playhouse. He believed that it needed a giant Christmas tree, one large enough to touch the top of the house, and I agreed, with the tree part and convinced him that maybe a smaller tree would be more practical.
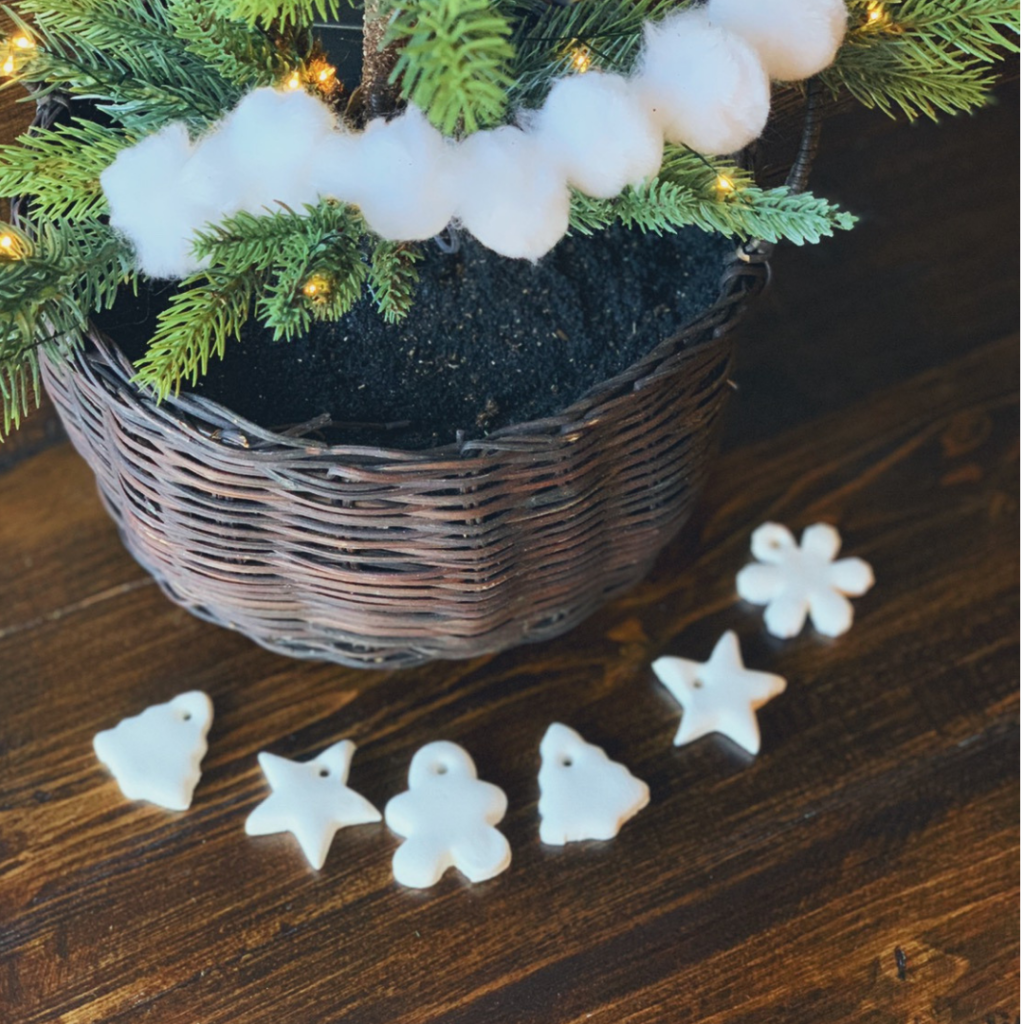
I found this faux pine tree at Target. It already came with the basket, and the pine needles are the hard plastic kind which looks realistic and doesn’t fall apart so easily. I wrapped it with dewdrop lights and a small cotton ball garland.
A few months prior I had purchased a large tub of modeling clay, so we used that to make our ornaments. The clay is soft like playdough and not very messy, and if you make a mistake, you can start over.
This clay takes 72 hours to dry. My kids enjoyed making them and didn’t mind waiting for them to dry. If you plan to use this activity for a party, then make the ornaments ahead of time so the kids can do the decorating part.
Time to make some ornaments;
Materials
- Modeling clay – We used white, but colors are available.
- Mini cookie cutters – or use large ones if you want to make bigger ornaments.
- Small roller
- Thick toothpick or chopsticks
Ornaments
First, cover your area, the clay didn’t seem to stain or stick to my table but cover just in case.
Next, roll out the dough and use the cookie cutters to form your ornaments. Our ornaments are about 1/4 inch thick.
Lastly, use a wide toothpick or the tip of a chopstick to make a hole at the top of the ornament.

Let the ornaments dry for 72 hours, at that point you can paint and use to decorate your tree.

We used our pip-squeaks markers to decorate the ornaments. The ink absorbs and dries super fast. I didn’t want to add more waiting time for our activity. By the way, in my opinion, coloring the front and back of the ornament looks better but you don’t have to do that, my toddler only doodled a few lines on her ornaments, and hers were super cute too.

What do you think? Let me know if you have any questions or share your designs with me.
If you are looking for more holiday craft ideas to do with your kids, try making kid-friendly snowglobes or try this homemade hot chocolate with candy cane syrup and fresh whip cream. Yum!


