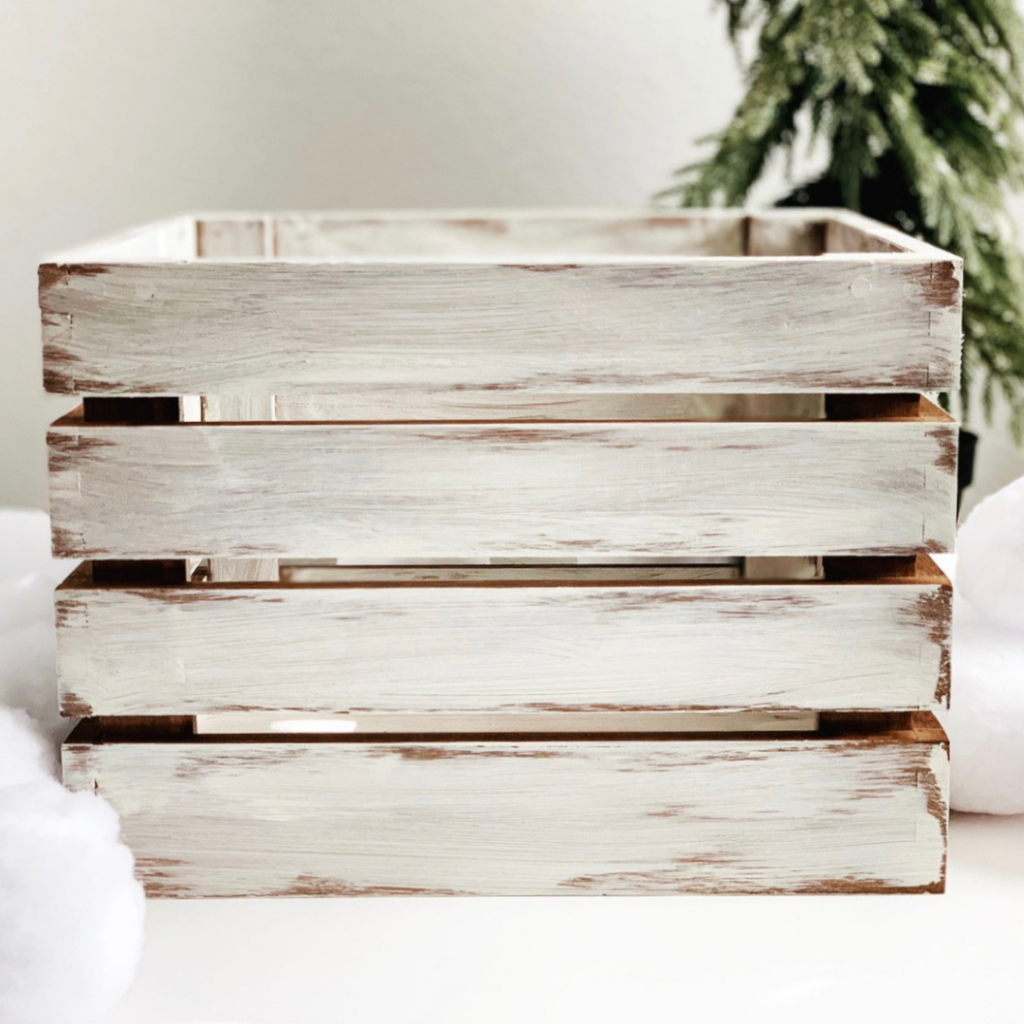
How to Paint a Wood Crate for Winter Decor

This tutorial is going to show you how to paint a wood crate for your winter decor. Best of all, It only takes a few minutes to make.Â
Materials
- Pre-stained wood crate
- Acrylic paint – I used this one here.
- Foam paintbrush
Painting the Wood Crate
First, wipe down the crate to remove any dust. I found the crate and acrylic paint at Target, but you can also find these materials at any hobby store.
Next, Flip the crate upside down and begin by painting the bottom side first.
The goal is to get a distressed look, so don’t cover the whole crate with paint. You want to be able to see a little bit of the natural wood.

Now, paint all the sides of the crate. Place your hand inside the box as you rotate to avoid leaving fingerprints on the outside. This paint dries quickly so by the time you finish painting the sides you will be able to flip it over to paint the inside.
After painting all the outside, lightly touch all the sides to see if the paint has dried. Once dried, flip the crate on its side and begin painting the inside. Starting from the bottom and working to the top.
Finally, go over any areas that might need more paint and let it dry.
Now you can use this crate for your winter decorations.
For now, my crate is holding the fake snowballs I bought from Target. Any time the mood strikes we get the crate and start a snowball fight. They are super soft and don’t hurt like the real ones.Â

I loved the way this project came out, so I plan to decorate a few more crates to have around the house this winter.
What do you think?

Visit the DIY page for more easy projects.


