Easy-Peasy Back to School pencil Sugar Cookies

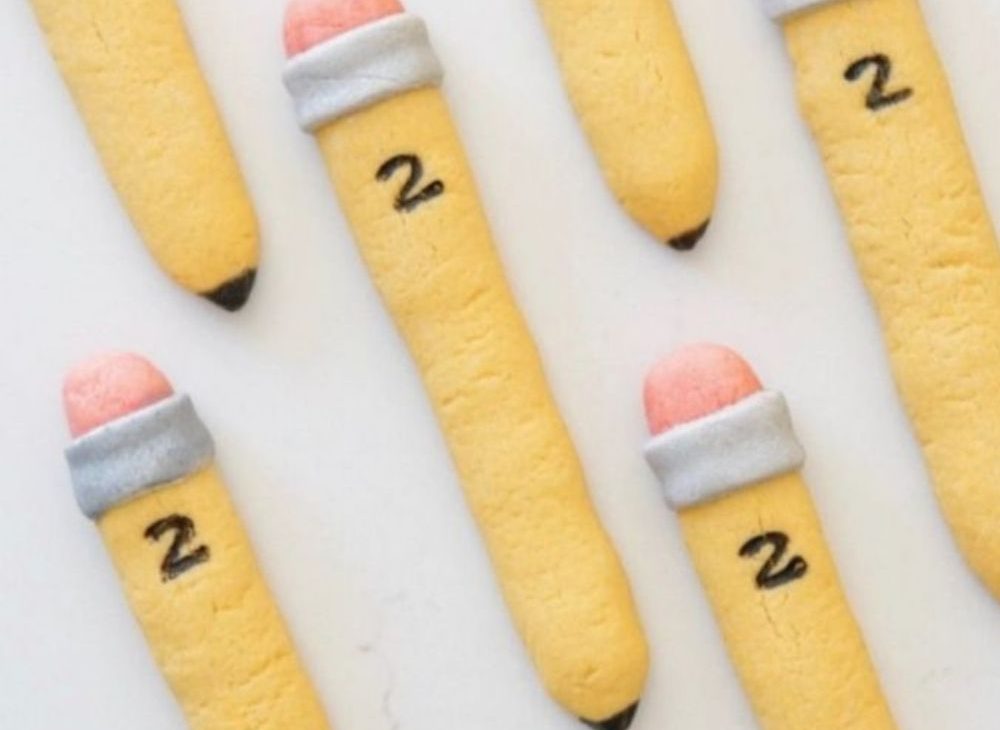
Let’s celebrate the new school year with these Easy-Peasy Back to School Pencil Sugar Cookies.
Let me emphasize the Easy part! You only need a few ingredients to make these awesome cookies, and there is no royal icing involved. Don’t get me wrong, I love the way royal icing looks on cookies, but I struggle with getting the right consistency and colors; That is why I tried some new coloring techniques, I love the way these cookies came out, and I want to share that with you. Here is how:
Pencils
Ingredients & materials
- One batch of Vanilla Almond Sugar Cookie Dough
- Yellow food coloring gel
- Pink food coloring gel
- Grey Edible Art paint (optional)
- Black Edible ink marker
- Gray fondant
- Piping gel
- Measuring mat
- Rolling pin with adjustable rings
- Cookie stamps
- Gloves

Color, Shape & Bake
- First, prepare a batch of your favorite sugar cookie dough. My recipe is plentiful, so divide it in half and save it for later, unless you are making a lot of cookies.
- Next, divide the cookie dough into two. One portion should be significantly larger than the other. Begin with the large one and put gloves on to prevent your hands from staining.
- Now, add a drop of yellow food coloring gel to the large chunk of dough and knead until the color is completely integrated. Add pink food coloring gel to the small piece of cookie dough and mix it again.
- Use the measuring mat to form balls of the yellow and pink dough. You want the pencils to come out the same size.
- Turn oven on to 350 °F and line cookie sheets with parchment paper.
- Roll out each yellow ball into a pencil shape, and then roll out a pink dough ball to form the eraser. Press them against each other.
- Then, use a number 2 stamp to mark each pencil – About 2 inches from the tip. Transfer to your cookie sheet and repeat.
- If possible, place the cookies in the freezer for 5- 10 minutes before you bake them. We want to keep the shape as much as possible.
- Bake for 10 -12 minutes.
- Let them rest on the cookie sheet for 10 minutes after you take them out of the oven. Then transfer each cookie onto a cooling rack.
- While the cookies cool off, use an adjustable rolling pin to roll out the gray fondant into 3 inches by half-inch strips. You can also use gray edible art paint on white fondant. Use piping gel to glue the fondant to the pencil; this will hide the seam between the yellow and pink dough.
- Finally, use the edible ink marker to color in the number two and the tip of the pencil.
- Done!
Go ahead, chew on your pencil!

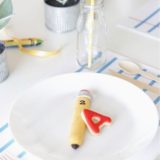
You get an A!
Now that your pencils are done. Use the extra dough to make A-shaped sugar cookies. What is unique about these cookies, besides them tasting amazing, is that you don’t need any special icing to decorate. When I said Easy-peasy, I meant it! You need only one ingredient.
Lately, I use candy melts to decorate sugar cookies. The melted wafers have the perfect consistency to outline and flood the cookies. They also dry super quick.

- Candy Melts – red
- Squeeze bottle
- Toothpicks
- First, Use the rest of the plain sugar cookie dough to cut out A-shaped cookies. Bake and cool.
- Once the cookies are completely cooled off, pour candy melts into a microwave-safe container or squeeze bottle. Melt in the microwave according to your microwave’s specifications.
- Next, outline the cookies and flood them with the melted wafers.
- Use a toothpick to pop any bubbles and fill any gaps.
- Once the coating is dry and hard, use the tip of your finger to smooth out the chocolate.
- Done!
The result is not as glossy as using icing, but the taste is excellent, and the decorating time is super fast.


