Love You A Brunch Sign
Here are step-by-step instructions to make a “Love You a Brunch!” sign for your brunch party. Photos don’t do it enough justice, this backdrop is simple and elegant, and best of all it is easy to assemble and store.
This sign was a big statement piece for the Love You A Brunch! Party we hosted for my sister’s birthday. It is beautiful to look at, and the message is fitting because everyone that was present loves her, a brunch! Lol.
Materials
- 1.5 Yards of white canvas fabric
- Scissors
- Measuring tape
- Two 1-inch x 1.5-inch x 4 ft.-inch wood laths
- Heavy-duty staple gun
- Picture hanging strips
- Cricut with 12 -inch x 24- inch. grip mat
- Self-adhesive vinyl – Black
Frame
Making signs and backdrops out of fabric is very convenient because they are lightweight, so hanging is easily accomplished with picture hanging strips or push pins. For this project, I used white canvas fabric, but you can use any color that fits your party theme.
Also, I purchased the wood laths at the hardware store. They have a section of pre-cut wood for craft projects. Crafts stores also carry similar products, but I find there are more options and lower prices at the hardware store.
Before you begin, Measure the space you will be covering. I have a large wall, so my sign measures 48-in H. by 54-in W. Change the measurements to fit your needs.

Next, Cut the fabric 2.5 inches longer on each side. The extra material is to be wrapped around the wood. For this sign, I cut my fabric to 50.5″ H by 56.5″ W.

Then, fold the longer sides (top & bottom) about an inch to create a seam. Use the stapler to staple the side fabric to the wood. Leave some wood exposed; that way the picture hanging strips will adhere better.

Repeat the step above to attach the second wood lath. Use a measuring tape to keep the frame even.
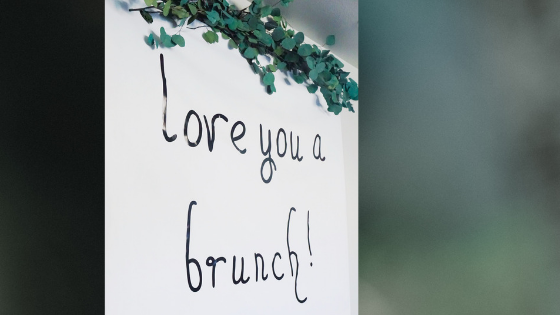
Love you a brunch!
This sign is my first project using a Cricut, I purchased my machine a few months ago, and for some reason, I was super intimidated to use it. I don’t know what the big deal was, lol. It is pretty easy to use, and the results are very professional. If you are a crafty person, I would highly recommend it.
If you don’t own a Cricut, you can also make a giant stencil using Microsoft Publisher. Make a stencil, then tape it to the fabric and use acrylic paint to paint on the canvas. This method works as well, but fabric and wood tend to bleed so, use a little bit of paint at a time to prevent excess runoff.
I used about four sheets of self-adhesive vinyl to print the message. The font is called “A Perfect Day.” Make the capital letters 12″ and the lower-case about 6 inches.

Once all the words print, place the sheets of self-adhesive vinyl over the canvas fabric. Use a measuring tape to center the message on the frame, then, peel and stick to the desired area.
Next, add two or three picture hanging strips to each wood lath and attach it to the wall.
Finally, dress the top of the sign with a garland or balloons.

After the party is over, remove the frame from the wall and roll it up to use again and again. Another option is to peel the letters, add a new message and re-use the frame for future parties.
I hope you find this tutorial useful, while you are here don’t forget to visit the Love You A Brunch! Party post. It has lots of brunch decor and recipe ideas
Visit the DIY page for more fun projects.